DIY Wooden Baby Play Gym
**This post might contain affiliate links.
In my last blog post and YouTube video, I shared some insights into our baby girl’s nursery. I was so happy to see the great feedback that I received from you guys. Clearly, the most popular items, which I got the most compliments on were the baby clothes and accessories that I crochet myself.
In this week’s blog post I am going to share how to DIY the wooden baby play gym that I made. After reading countless books and listening to many podcasts I realized how toxic some types of baby toys can be. Not only certain plastic toys but also some colors of wooden toys are made of harmful materials. Therefore, I decided to start with a good example and to focus only on natural wood and woven baby toys right from the beginning. I am very aware of the fact that as children grow older they have their own wishes about which toys they wanna have especially when they see advertisements in shopping malls or from other children. But I will try to avoid that as long as possible.
In the following, you can find all the instructions along with the material list (and links) for the wooden baby gym. If you wish for a more interactive view, you can also check out my YouTube video on “How to DIY Wooden Baby Play Gym & Baby Mobile” here !
DIY WOODEN BABY GYM


First of all, I would like to mention that while making this baby play gym, I took inspiration from a handmade wooden baby gym that I found on Etsy. I really liked the simplicity and the color patterns that they used to create the hanging toys. Since it was kind of pricy (I also had to consider shipping costs from the UK to South Korea) and sold out at the time I found it, I decided to do it myself. I already gained a lot of experience in crocheting baby clothes over the last few months so I thought crocheting animals wouldn’t be that difficult. I first started making the giraffe. I was pretty satisfied with the legs and torso so I decided to use the same pattern for the other animals as well. Regarding the head part, I feel that I kind of failed for the giraffe and lion but I really liked how the elephant turned out. That’s why I am going to share the pattern for the little elephant here. Whenever I’ll have time I will try to improve my patterns for the giraffe and lion and share them later.
Also if you are interested in the handmade wooden baby gym from Etsy, you can check it out here.
One last thing that I would like to say before going into the ‘how to part’, is that I totally value the rather high price that handmade pieces cost, and if I wouldn’t have had the time for making it myself I would absolutely have bought it. Therefore consider it as a trade-off to decide whether you have the time to make it yourself or just buy it and support another artisan.
MATERIALS:
- Wooden Baby Gym Frame: for my baby gym I used exactly this one. However, there are some others that I will feature in the pictures below, that will work just the same way. The reason why I decided to use this one is that I really liked the two wooden beads on each side of the frame legs.
- Wooden Rings: You can also find these also under the search term ‘baby teether’. In order for them to fit around the frame, they have to have a diameter of at least 40mm.
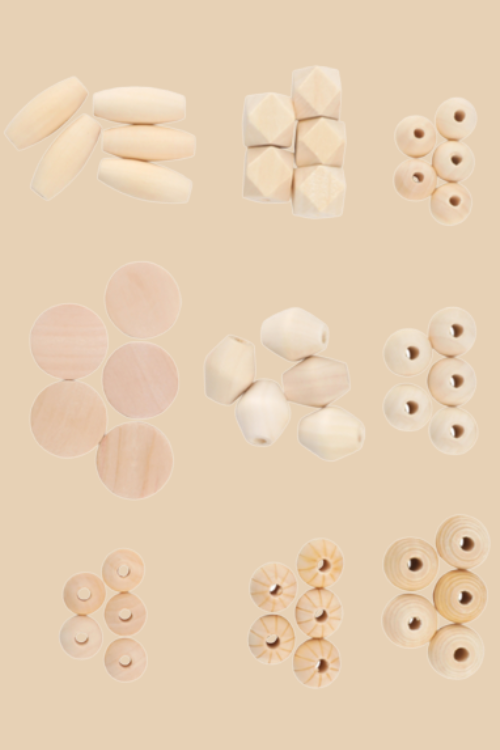
- Wooden Beads: Feel free to choose different shapes and designs here. In total, I used 12 beads, 4 for each hanging piece.
- Crochet Yarn: In order to crochet the same items that I did, you will need 4 different colors of yarn. The ones I used were:
Deep Ivory (giraffe’s body)
Beige (lion’s body)
Brown (lion’s mane and giraffe’s horns)
Light Gray (elephant)
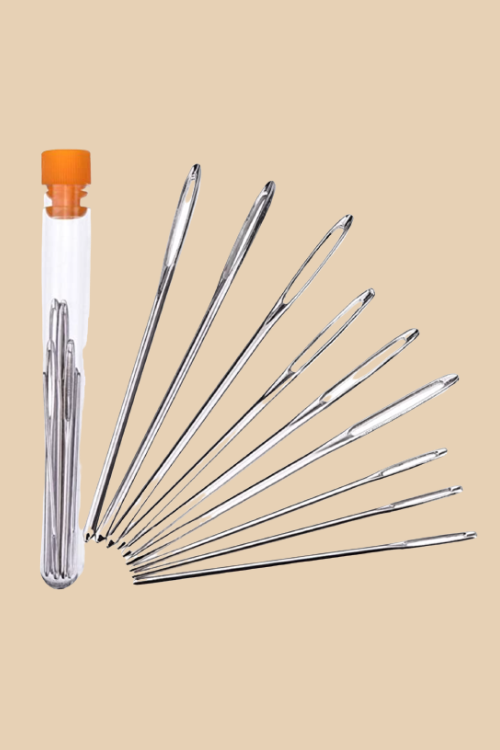
- Some more materials that you’ll need for crocheting:


DIRECTIONS:
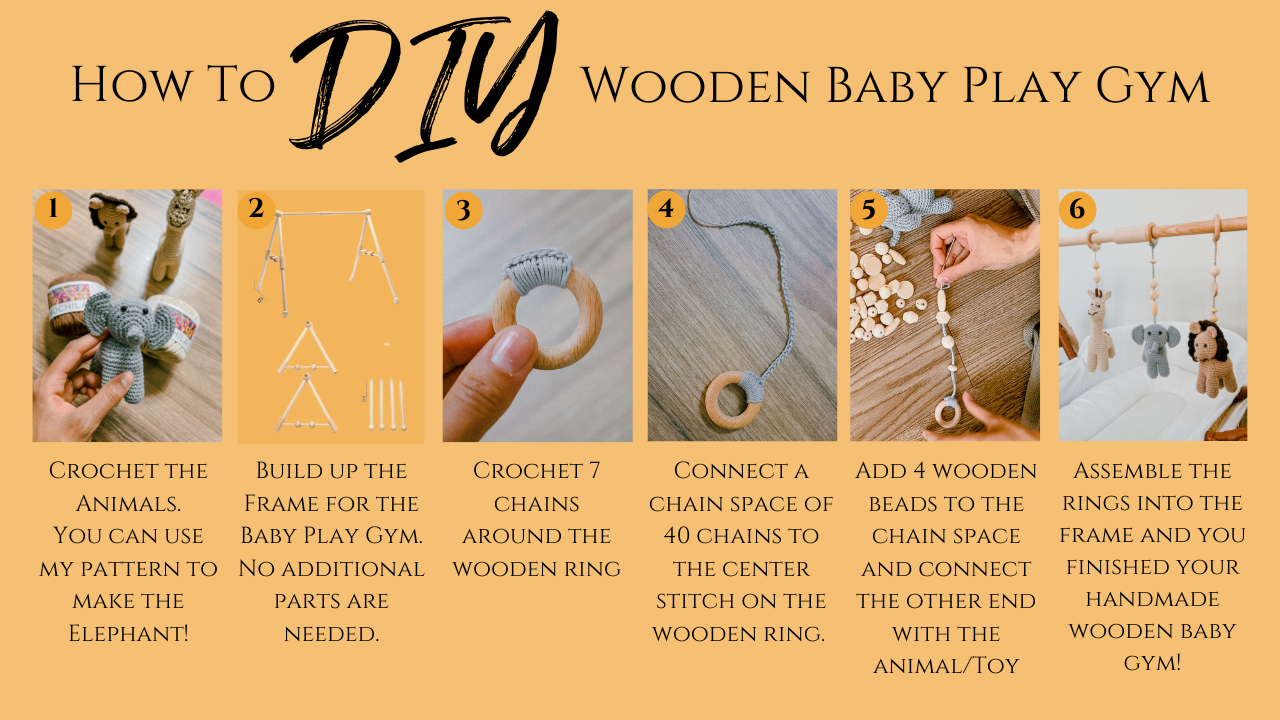
The first step will be to crochet the animals. As I mentioned above, you can use my pattern to make the elephant. If you want to experiment with other animals or objects, I will link some nice video tutorials and free patterns that I found on the internet in the pictures below as well.
As soon as you have the animals ready, it’s time to build up the frame. The frame that I used comes along with the screw and screwdriver, so there are no additional parts that you need to purchase and it is super easy to combine the parts.
Once you built up the frame you will see its height and according to that, you’ll be able to choose how long you would like to make the cords on which you’ll be hanging the animals/toys. For the cord, simply crochet a chain space out of 40 chains. But first, crochet 7 chains around the wooden ring.
Connect the chain space of 40 chains to the center stitch (4th stitch) on the wooden ring.
Before connecting the other end of the cord with the animal/toy add 4 wooden beads.
You’re almost done! Now you only need to assemble the rings into the frame and you finished your handmade wooden baby gym!
Some more patterns for other animals or objects that you could make for your own personalized baby play gym:


