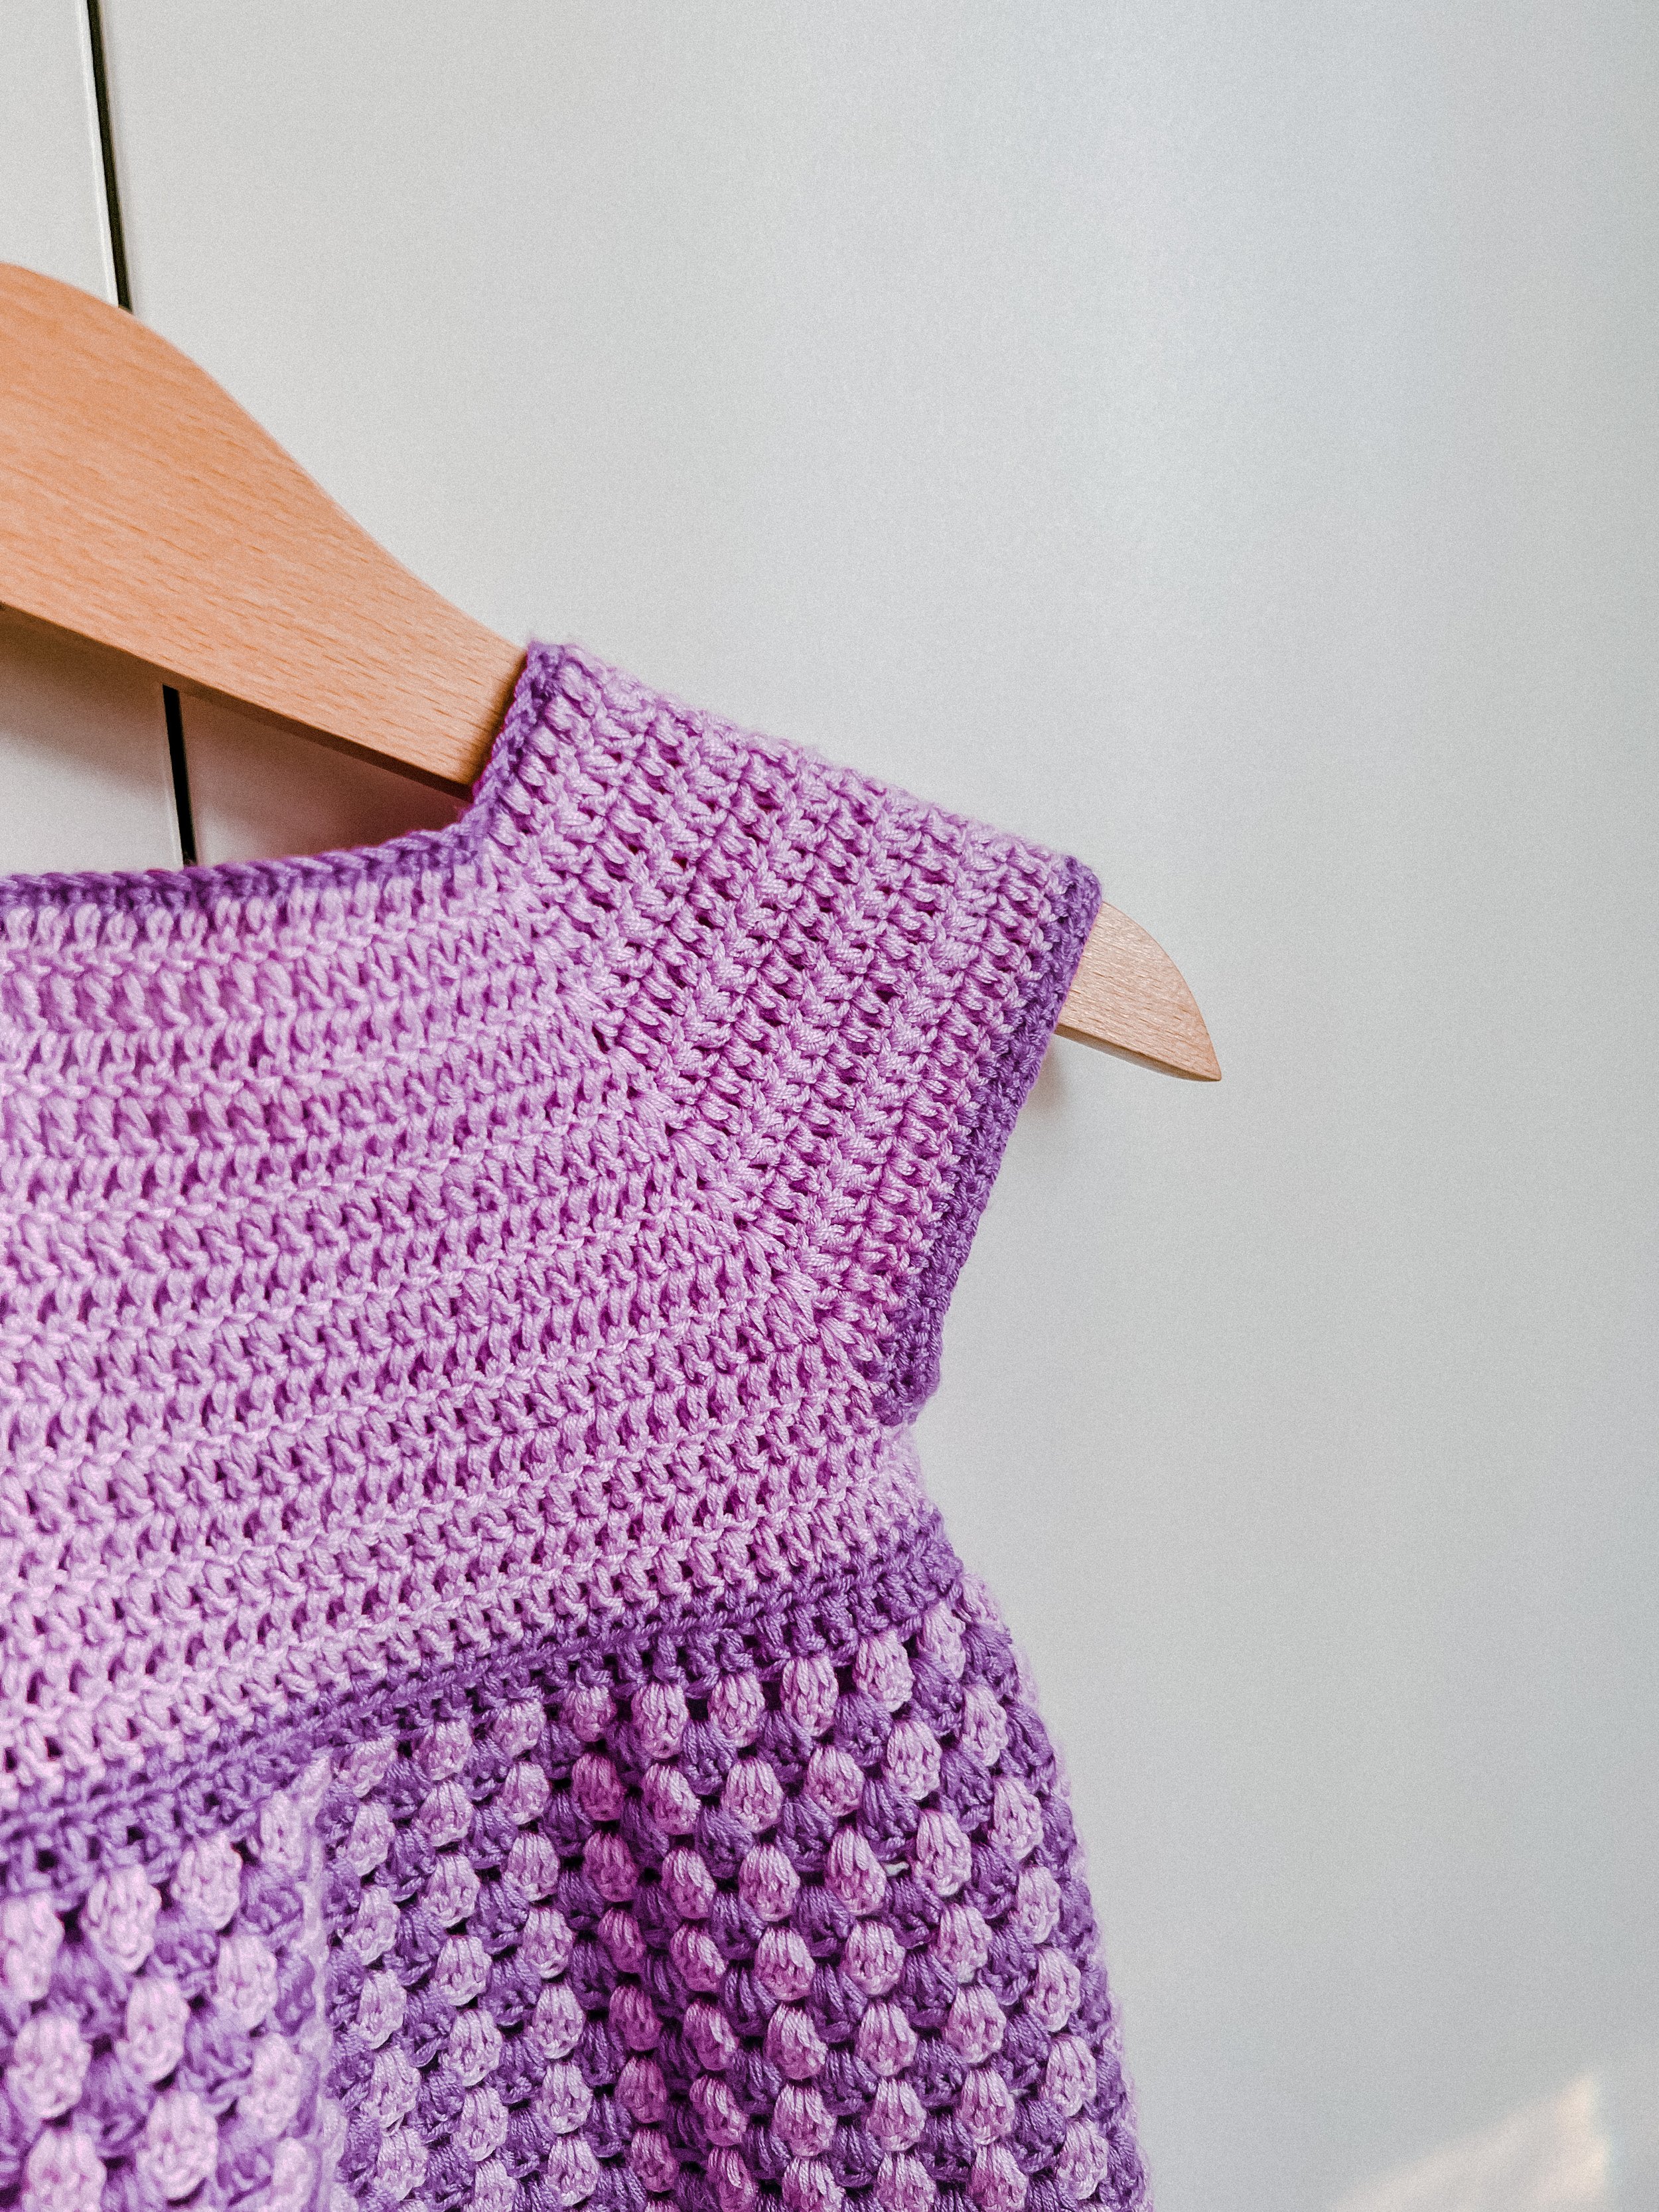
Granny Baby Dress

The pattern for this cute baby dress is made for the size of 6 months. You can easily make different sizes by adding or removing stitches. This dress is quite quick and easy to make as it uses simple stitch patterns. It is the perfect gift for a new mom or the best way to keep yourself busy during pregnancy.
If you would like to download the pdf written pattern or support my work you can buy it here
Or send me a donation on my Ko-Fi account here :)
You can find the video tutorial of this dress on my YouTube channel here!
Have fun crocheting!
Materials:
Terms and Abbreviations:
ch = chain
sc = single crochet
hdc = half double crochet
dc = double crochet
slst = slip stitch
Gauge:
10cm x 10cm = _ stitches x _ rows in dc
How to make the Granny Baby Dress - Size 6 months

We gonna start with the collar part of the dress:
Make a slip knot and ch 85
Row 1: sc in 2nd ch from hook and sc in each st until the end of the row
Row 2: ch3 counts as first dc, dc in each of next 12sts, (1dc, ch1, 1dc) in next st, dc in next 15sts, (1dc, ch1, 1dc) in next st, dc in each of next 24sts, (1dc, ch1, 1dc) in next st, dc in each of next 15sts, (1dc, ch1, 1dc) in next st, dc in each of next 13sts, turn
Row 3: ch3 counts as first dc, dc in each of next 13sts, (1dc, ch1, 1dc) in next ch-1 sp, dc in next 17sts, (1dc, ch1, 1dc) in next ch-1 sp, dc in each of next 26sts, (1dc, ch1, 1dc) in next ch-1 sp, dc in each of next 17sts, (1dc, ch1, 1dc) in next ch-1 sp, dc in each of next 14sts, turn
Continue this type of increase pattern for the next 9 rows until we have a total of 12 rows.
Row 4: 14,19,28,19,15
Row 5: 15,21,30,21,16
Row 6: 16,23,32,23,17
Row 7: 17,25,34,25,18
Row 8: 18,27,36,27,19
Row 9: 19,29,38,29,20
Row 10: 20,31,40,31,21
Row 11: 21,33,42,33,22
Row 12: 22,35,44,35,23
After completing row 12 we will start with the bodice of the dress.
For that, we need to create the arm holes
Row 13: ch3, dc in each next 23sts, dc in next ch-1 sp, ch2, skip next 37sts, dc in next ch-1 sp, dc in each of next 46sts, dc in next ch-1 sp, ch 2, skip next 37sts, dc in next ch-1 sp, dc in each next 24sts, before starting the next row of the bodice part join both sides of the yoke by slip stitch to follow crochet in round, turn
Row 14: ch3, turn, dc in each st until the end of the row, (dc into ch of the arm wholes), join round by slst (102)
Row 15: ch3, turn, dc around into all sts, join round by slst
Before we start making the skirt we gonna change the color
Row 16: ch3, hdc in each dc, join round by slst (102), turn
Row 17: ch3, dc in each hdc, join round by slst (102), turn
From now on we gonna change the color for each round
So, before starting with row 18 you gonna change the color and we are going to start making the granny stitch pattern
Row 18: ch3, turn, dc, skip one st, 3xdc in the same st, repeat until you have one last st, dc, slst
Row 19: (change color) ch3, turn, 3 dc into each ch-1 sp, stst
You are going to repeat row 19 for 37 rounds (or as long as you want the skirt to be)

After you reached the desired length of the skirt there are only two more rows left
ch3, turn, dc around into all sts, slst
Ch1, turn, hdc around into all sts, slst and cut off
We are now finished with the main part of the dress. Now all that we have left are the borders for the arms and the neck part
Hdc into each st, slst
Ch1, turn, sc into each st, slst, cut off
You will repeat the same thing with the other arm and after that you can move over to the last part of the dress which will be the collar part.
sc around the collar part
ch 40-50
slst in 2nd ch from the hook and slst until your reach the neckline, stst and cut off
Repeat the last two points for the other side as well.

Now we finished our cute baby dress. The only thing left is the leftover yarns.
You can hide them by simply weaving them in with the darning needle.
And here you go. The finished dress!
If you liked this tutorial, and it has inspired you, I would love to know your opinion and read it in the comments below!
You are very welcome to share the finished baby dress with your friends and followers! Show off the result on social media with the hashtags #ChrochetWithAisha and #GrannyBabyDress
Pin the images below to save this tutorial in your boards!


Design, images and pattern © 2024 Crochet With Aisha by Aisha Ba. All rights reserved.
Please respect the intellectual property of the designers. This pattern is for personal use only. Do not distribute copies in physical or digital format. It is not permitted to use this pattern to make products for sale, workshops or any other commercial activity. If you have any doubts about what you can do, please contact me at ayssataba@yahoo.de